Want to turn a simple photo into a real Custom 3D Miniature – With Bambu Studio and MakerWorld (PrintU feature), you can create detailed figurines in minutes—even if you’re a beginner.
This guide is optimized for real results, not just theory. Follow the exact steps below to go from image → 2D → 3D → printed Custom 3d miniature.
Why Use Bambu Studio + MakerWorld PrintU?
- Convert photos into 3D printable models
- Beginner-friendly workflow (no CAD skills needed)- Drag drop and select type and pose and 2-3 clicks you can create a miniature.
- Fast AI-assisted model generation help create 3d miniature in minutes
- Direct slicing and printing with support on Bambu lab application makes it more easier.
What You Need to Create Custom 3d miniature
- Bambu Studio (Desktop App)
- Access to MakerWorld → PrintU
- A clear photo (front-facing works best)
- A Bambu Lab 3D printer
Step-by-Step (My Actual Workflow)
1. Open Bambu Studio → Go to PrintU
I start by opening Bambu Studio and heading to the MakerWorld section. Inside that, you’ll find PrintU.
That’s the tool doing all the heavy lifting as observed in above screenshot it give all options directly
2. Upload the Image
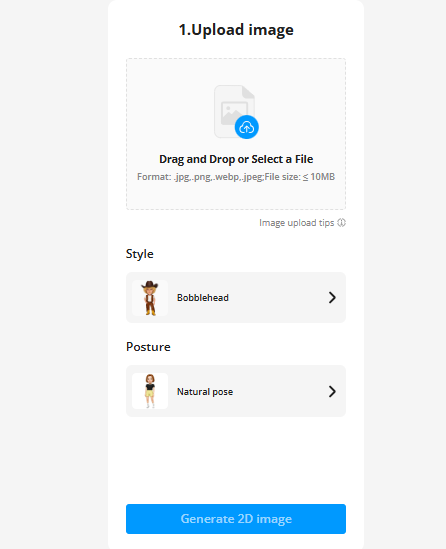
Just drag and drop the image.
From my experience use Images with below:
- Clear face give better result
- Good lighting allow processor to give sharper details
- Avoid messy backgrounds – help in keeping the subject defined.
👉 If the input is bad, the output will be bad. Simple as that.
3. Select Style and Posture
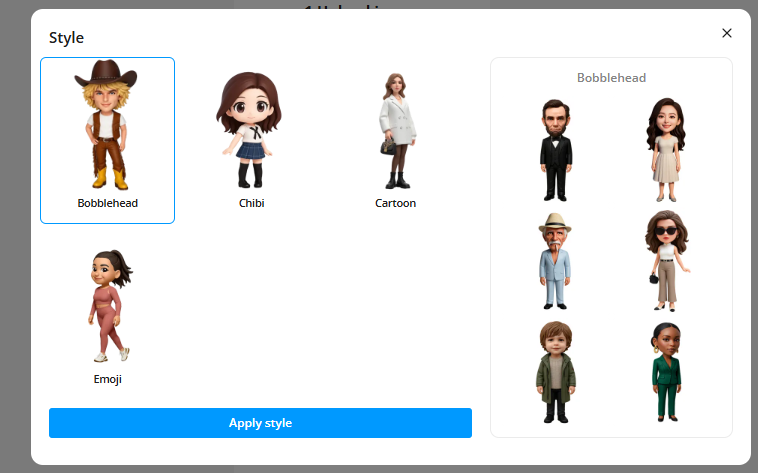
This part is actually fun.
You can:
- Pick different poses
- Adjust how the subject is positioned
- Preview the overall look
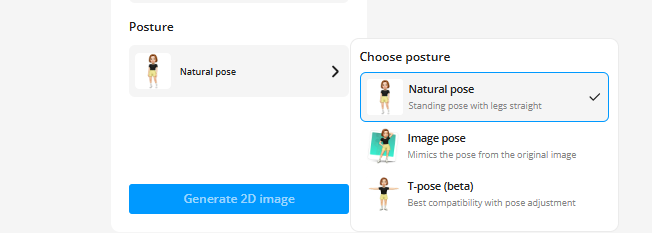
I usually try 2–3 poses before finalizing.
4. Convert to 2D (Don’t Rush This Step)
Once I hit Convert to 2D, it gives a flat preview. But it takes time to process have patience.
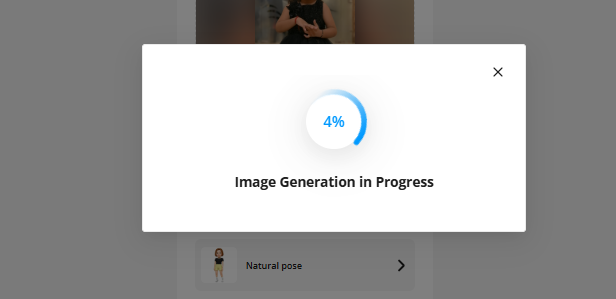
Once created review it.
This is where most people mess up.
I take time to:
- Fix face alignment
- Adjust cropping
- Make sure proportions look normal
👉 If this looks wrong, your 3D will definitely look worse.
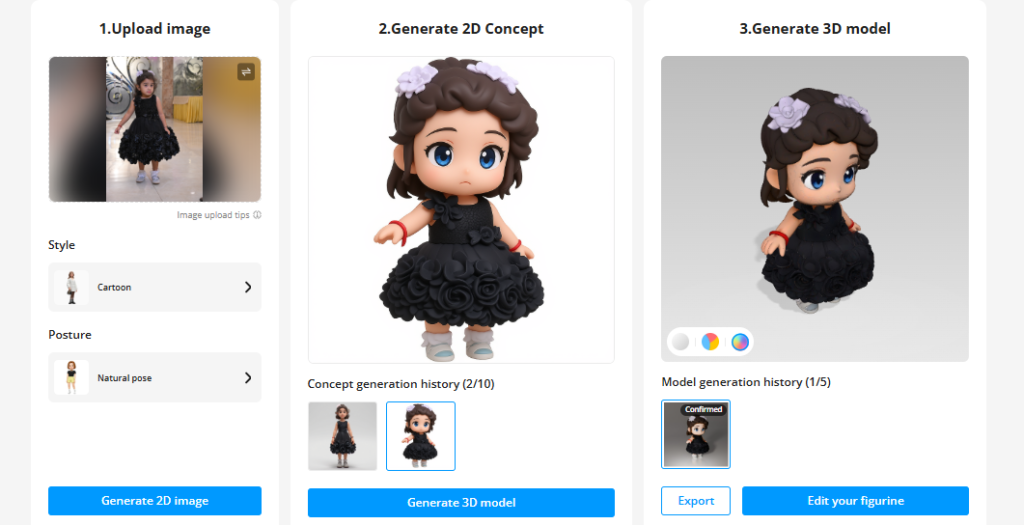
5. Accept & Generate 3D
After I’m satisfied, I click accept and let it convert into a 3D model.
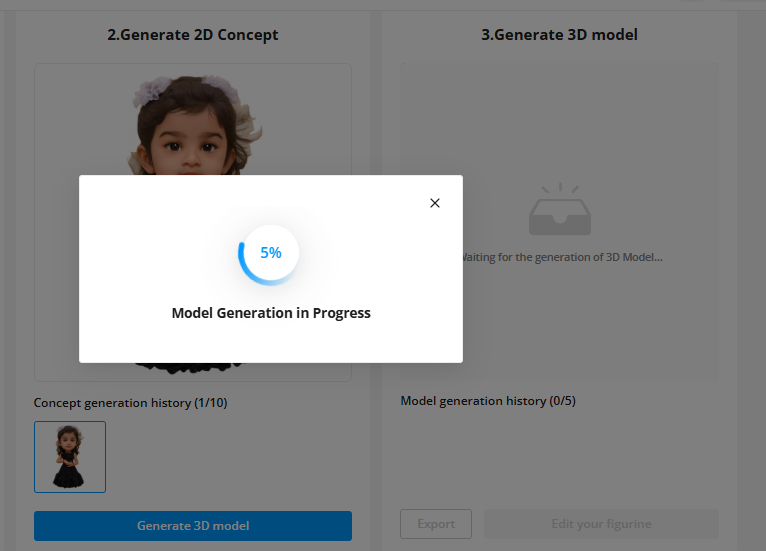
It takes a bit of time, but nothing crazy. about 4-5 min.
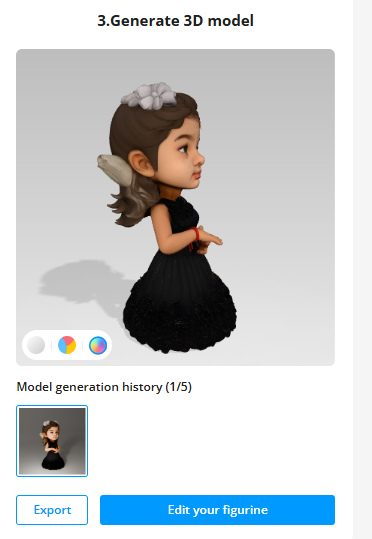
And yeah… this is the moment where it actually feels cool 😄
6. Slice the Model (Important Part)
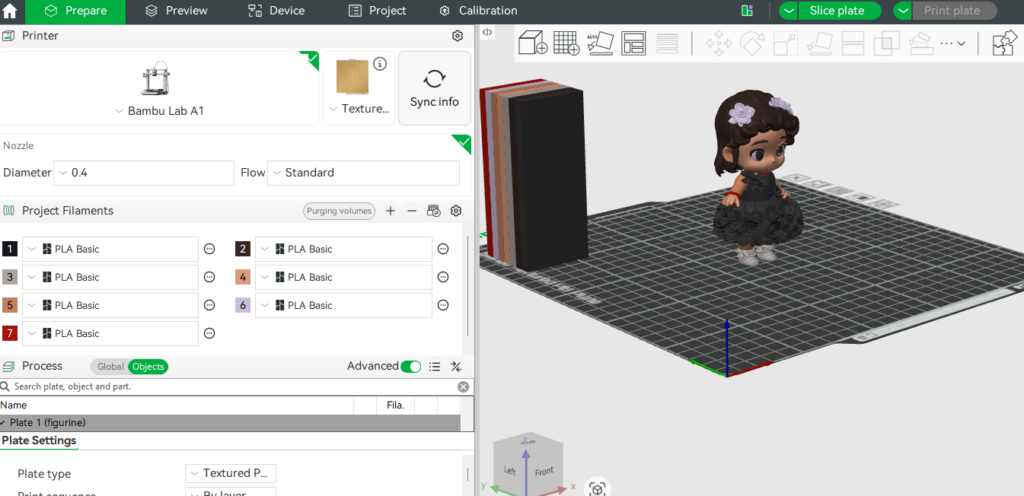
Once the model is ready, I move to slicing in Bambu Studio.
These are the settings I usually stick to:
- Layer height: 0.2 mm (for detail)
- Infill: around 10–15%
- Supports: Tree supports if needed
👉 Lower layer height = better detail (but slower print)
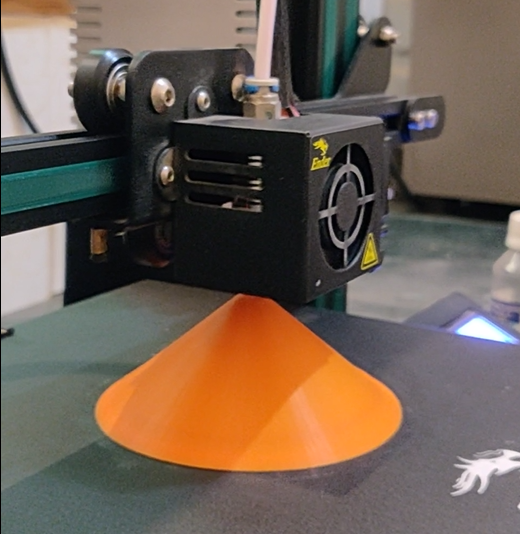
7. Print It
Send it to the printer and start the job.
I always:
- Watch the first few layers
- Check if supports are holding fine
After that, it’s mostly smooth.
🎯 Where This is Actually Useful
- Custom figurines
- Gifts (this works really well)
- Content creation (shorts/reels)
- Sample models for clients
❓ Quick FAQs (Based on My Use)
Can any image work?
Technically yes, but good quality images give much better results.
Do I need CAD skills?
Not at all. That’s the best part.
Is it perfect every time?
No—but with a good image and slight tweaks, it gets really close.
Don’t Have a 3D Printer? I Can Help
If you’re just exploring this or don’t have a 3D printer yet, you don’t need to stop here.
I can create and print the miniature for you, based on your image and requirements.
👉 You can place your order here or contact us –
https://ncr3dprint.in/product/personalized-3d-creations/
💡 Why You Might Prefer This
From my experience, getting a good miniature isn’t just about clicking “convert to 3D”:
- It often takes multiple adjustments in the 2D step
- Print settings need to be tuned for clean details
- Supports and finishing can make a huge difference in final quality
👉 If you’re new, it can take a few trials to get it right.
That’s where I step in.
Would like to encourage the Print U team for crating a easy miniature creating software or tool which with above was possible –
Powered by MakerWorld-printU (https://makerworld.com/makerlab/printU)